Original Kit:
1969 Dodge Charger R/T
Made By:
Revell-Monogram (kit #85-2546)
Scale:
1/25

Other Charger Models

Furious 7 Maximus Charger (Review)
Dukes of Hazzard Undercover General
The Fast & the Furious ‘70 Charger
Left 4 Dead 2 Jimmy Gibbs, Jr. Racer
‘69 Convertible
Fast 5 ‘70 Charger
Dukes of Hazzard (movie) General Lee
‘69 Charger (Review)
Collier & Co: Hot Pursuit Traveller
The Outsider ‘69 Charger
Fast 5 ‘11 Charger Rio Police (Review)
Dukes of Hazzard General Lee
Blade‘68 Charger
House of Wax ‘68 Charger
Other Video Game Models
Halo 5 Tundra Warthog
LEGO Batman Batmobile
Mario Kart 8 Sports Coupe (Review)
Halo 2 Warthog (Review)
Simpsons: Hit & Run Honor Roller
Need for Speed ‘69 Charger (Review)
Need for Speed Mustang GT (Review)
Need for Speed Audi R8 (Review)
Half-Life 2 Muscle Car MarioKart DS Royale (Review)
SpyHunter 2 Saleen S7
Need for Speed Murciélago (Review)
MarioKart DS B-Dasher (Review)
Arkham Knight Batmobile (Review)
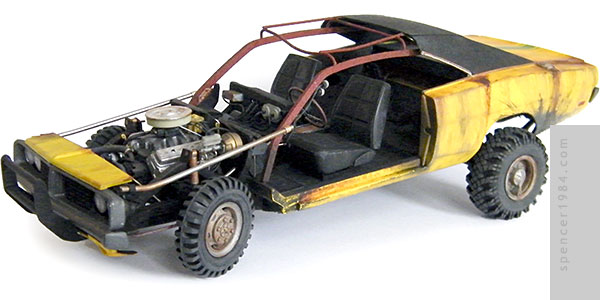
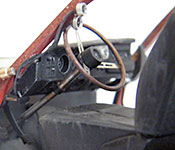
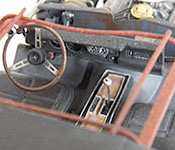
Several years ago, a pile of kit parts made its way around our local build group. It had been donated by someone looking to thin their hoard of what they considered "junk," and we were welcome to whatever bits we could use for our own builds. Among the myriad sprues and military parts was the sad remnants of a Revell '69 Charger. Either the original builder had gotten as far as cutting out the doors and trunk before losing interest (and those panels), or had been working on a diorama that involved a load of Charger parts. Either way, I got part of a body shell, a grille, an interior pan, and a chassis...perfect for this project.
After my initial investment of $0, I combed through the leftover parts I had from previous Charger builds. Quite a few "other" bits & pieces ended up being used as well...the game developers were not strictly accurate when it came to creating the Muscle Car, which left me a lot of wiggle room as far as what parts I could use.
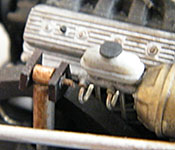
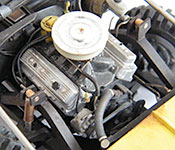
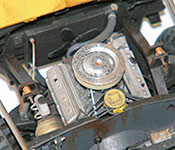
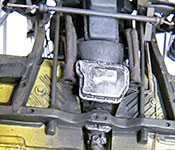
Wanting to make this a truly "American" muscle car, the engine is a hybrid of "big three" parts: the block, oil pan, and front cover were from some previously parted-out Charger kit, the heads are from a Ford stock car, and the valve covers are from a Chevy Caprice. I'm pretty sure the intake and exhaust manifolds are Ford-based as well (the former simply being installed backwards to get the distributor close to the firewall), but their source kit(s) were long gone so that's only a guess on my part. I used a spare Morgan Automotive Detail HEI distributor that was left over from my Fast 5 Galaxie build. The transmission was made from the parts I didn't use in my off-road Charger. Everything else—carburetor, air cleaner, belt, fan, radiator, and alternator—were from my parts box. The dipsticks, hoses, wires, and any other details were all scratch built. One place where I intentionally broke with the game model was the exhausts: the game car had a full exhaust system, but there's no way that would have survived the apocalypse. Instead, I ended the exhausts at the header pipes. These were drilled out and a set of Detail Master flanges was added to finish them.
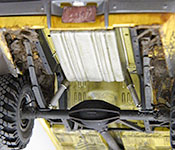
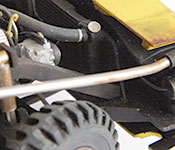
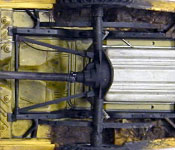
In addition to the block, I also used a Mopar K member and steering knuckles to make assembly easier. That exhausted my supply of Charger suspension parts, though, which left me on my own for everything else. The rack-and-pinion steering unit was scratch built, with the tie rod ends cut to different lengths to pose the front wheels. The brake rotors are flat washers. In the back, a set of leaf springs were scratch built from flat styrene. More styrene stock was used for the traction bars and spring mounts. The rear axle is a modified pro street component, with drum brakes from AMT's '71 Charger. The wheels and tires are from 1/35 military trucks: deuce and a half for the fronts, and Ural for the rears. All four shocks are made from aluminum tubing with metal crimp beads for the ends. The upper front mounts are another area where I deviated from the game model: there, the shocks were mounted to straight bars that went from the (unsupported) radiator bulkhead to the firewall. With this setup, the first good bump the car hit would've collapsed everything. So instead, I made a set of arches that mounted directly to the existing lower frame. The flanges are made from sheet styrene, with through-bolts made from hex head detail and guitar wire. More wire was used for the brake and transmission coolant lines.
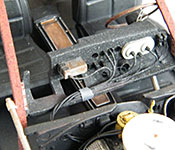
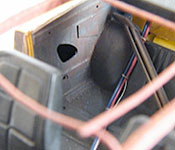
The back seat area of the game car was essentially an empty box, but based on the overall look of the car I decided to consider that an animation shorthand for a stripped interior. I used a seat brace left over from some previous build, and scratch built rear side and floor panels from sheet styrene. The center console and seats were modified just as they were in the Dirty Mary, Crazy Larry car, with the addition of cutting off the "carpeted" parts of the console. This build also necessitated some details I don't usually bother with: because the lower sides of the seats are visible, I made wire frames to mount the seats to the floor. I also scratch built fully detailed mechanisms for the accelerator, brake, and parking brake. The dashboard had to be narrowed considerably, which I did by cutting out the area where the glove box used to be. I then made hardware for the back of the dash, trying to be more representational than literal with what went where. Simple blocks for the radio and various switches, an inverted instrument glass for the speedometer and tachometer, and several sizes of wiring to tie it all together. The wires were wrapped in a strip of duct tape made from metal tape, and fed through a hole in the firewall. The main gauge faces were from a spare decal sheet, the auxiliary dash gauges were from a Detail Master set, and the pillar gauges were scratch built from styrene rod and aluminum tubing. The final detail was the steering wheel, which was the only item I actually bought for this build. A plastic wheel was just too clunky considering how exposed it was, so I used the spokes from a Model Car Garage set with a Revell horn button and a scratch built rim and column.
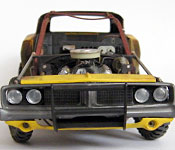
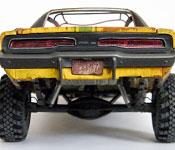
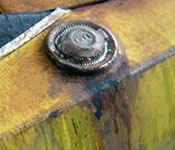
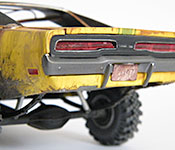
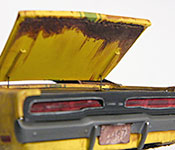
Getting it with the doors removed saved me a step, but more had to go. I cut it at the roof and where the front fenders met the rockers, then glued the body, chassis, and floor together so I had a solid base to build on. The door sills were filled with Bondo, and the jambs were made from sheet styrene. More styrene was used for the trunk floor and the rear valance (the latter receiving the cutouts shown on the game car, even if I didn't include the exhaust tips). The taillight panel was cut from an MPC Charger, which fit the Revell body without too much difficulty. Since the trunk lid was missing, I removed one from the same gluebomb that donated an engine, part of a seat, and a a rear fascia (let it be known that nothing goes to waste on my bench!). The previous owner wasn't very precise cutting the opening, but rather than fix it I decided to run with it: the drip ledge is intentionally ragged near the worst of the opening to make it look like that spot is rusted through. The hinges were made from guitar wire, and actually hold the trunk open on their own thanks to the way they're sprung inside the mount tube. I redid the vinyl top in masking tape to give it a clearer texture, then trimmed it using BMF and metal tape. The main roll bar is made from .080" styrene rod, with floral wire shaped to form the "roof." I cut the headlight doors out of the grille, and used Revell '68 Corvette taillight housings for the headlight buckets. These were the correct size plus they had individually shaped buckets with square fixtures that looked perfect for bulb sockets. The parking lights were drilled out of the front splash pan, then it was glued to the grille. I have plenty of spare hoods, but didn't want to waste one for the leading half inch...so I scratch built what I needed from styrene stock. Some extra reinforcing on the back held all this together, plus it bulked things up a little. The grille guard was scratch built as well, based loosely on the one I made for the General Lee. Finally, the nose and main body were tied together with some stainless steel rod.
On the face, the paint job for this is dead easy: Krylon yellow body, Tamiya German Gray interior, and flat black and silver details for everything else. In practice, though, things were a bit more complex. The first thing I did after the base colors were on was the trunk stripe, which was a custom decal I made in Illustrator. I then sprayed the whole car with Dullcote, and started weathering.
This was my first time using Vallejo (Industrial Thick Mud, Industrial Splash Mud, Rain Marks, Streaking Grime, Engine Grime, and Mud and Grass) and AK Interactive (Medium Rust Deposits and Rust Streaks) weathering paints, and for the most part I am very pleased with the results. My favorites were the Rain Marks and Rust Streaks, which built up nicely so that it was easy to get just the right amount. The Grimes were useful for dirtying the engine and tires, and the Mud and Grass, while limited in its flexibility, worked perfectly in the wheel wells. I also used Citadel's Typhus Corrosion for the most heavily rusted areas, like the exhaust headers and the rotted out trunk edge. Rust and several shades of brown paint were used to accentuate the edges and splashes. Finally, I used some of my good old charcoal, chalk, and pastel powders to blend everything together. The rear license plate was taken directly from a screenshot of the game.
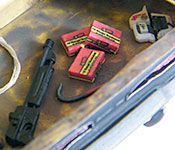
Finally, it was time to put some junk in the trunk. I started with a battery tucked behind the right wheel, since it wasn't shown anywhere else and this was a good weather-resistant location. On the other side, I put and X-wrench and a length of rope, typical tools one might need in the post-apocalypse. The rest of the details are a little more specific: a pump-action shotgun modified to look like the one used in the game, three boxes of shells (also based on the game models), a HL2 medkit carved from styrene stock, and Gordon's iconic crowbar.