Original Kit:
Motorola Reynard
Made By:
Revell (kit #85-2339)
Scale:
1/25

Other 2000s Movie Models
The Simpsons Family Sedan
P2 Oldsmobile Cutlass Supreme
The Bourne Ultimatum NYPD Impala
Megafault Dodge Ram
Alone in the Dark VW Touareg
Revenge of the Fallen Bumblebee
Final Fantasy VII Fenrir (Review)
Transmorphers: Fall of Man Police Car
Cars Doc Hudson (Review)
Twilight ‘63 Chevy Pickup
I Am Legend Shelby GT-500
Austin Powers: Goldmember Shaguar
The Transporter BMW 735i
Other Racing Vehicle Models
The Circuit Wolf BMW 3.0 CSL
Ford v Ferrari GT40
Red Line 7000 Ford Galaxie
NASCAR Justice League Tauruses
Transformers Jazz
Cyber Formula Knight Savior (Review)
Cyber Formula Experion Z/A-8 (Review)
Speedway Dodge Charger
‘13 GoDaddy #10 Chevy SS (Review)
Cyber Formula Stealth Jaguar (Review)
Monster Jam Batman (21) (Spin Master)
‘19 Monster/Napa #19 Camry (Review)
‘15 Rev Racing #4 Camry
Speed Racer F1 Mach 5
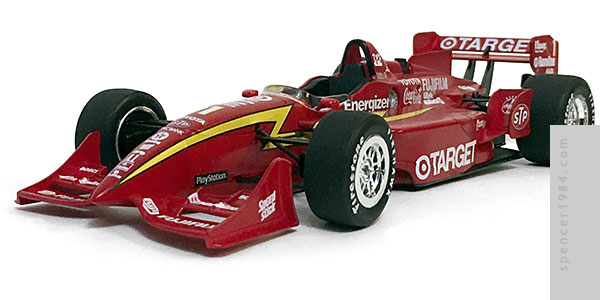
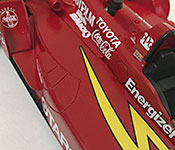
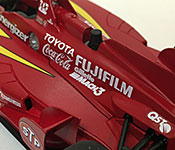
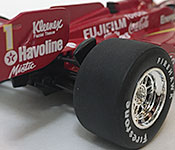
Driven certainly wasn't the first movie to supplement its race scenes with actual race footage, but thanks to the number of configurations available on these cars and Driven's playing fast and loose with the sport, there was a lot to choose from when it came to building this car. Wings, car numbers, markings, even whether it was a Lola or Reynard bounced around from scene to scene (and in some cases, shot to shot). Since my knowledge of open wheel racing cars is limited, I opted to ease into this genre by using Revell's 1999-01 Reynard with a few minor modifications.
The first of those was the wheels. For all the inconsistencies, the movie cars seemed to be wearing polished OZ wheels in pretty much every scene. This kit came with a set of BBS wheels, but Revell's pre-1999 CART kits had near-perfect OZs. The chrome was a bit roughed-up on the ones I had, so I fixed them up with some Bare Metal Foil.
The other deviation that I took was the markings. While the kit's Motorola scheme could have been used for Driven's hero Jimmy Bly car, the decals had been destroyed long before I bought this kit. Plus, since this was my first time building one of these, I wanted a simple solid base color so as not to get bogged down trying to figure out panel breaks and masking. I went with rival Beau Brandenburg's car instead, which was primarily based on the Chip Ganassi Target cars driven at the time by Alex Zanardi and Jimmy Vasser.
I started by painting the car Tamiya TS-8 over Napa gray primer, with a light clearcoat to give the decals something to stick to. Most of the markings were from an Indycals 1998 Target Reynard/Alex Zanardi Road Course set (Indycals offers both Zandari and Vasser markings for both road and superspeedway courses...any of them would have been acceptable for at least one of the cars shown on screen). This was my first time using Indycals' decals, and I couldn't be happier. The white was bright and opaque, the carrier was thin but tough, and the sponsors were arranged to fit the car perfectly. In an effort to make a unique "Brandenburg" design, I mixed up some of the contingency sponsors and added a couple of my own. The only ones I couldn't fix on my own - the white Toyota logos on the nose and cowling - were from a set I bought off of eBay.
The build itself was pretty straightforward. Fit and finish were decent, with relatively little cleanup needed on the individual parts. The worst part of the kit is arguably the seat, which has a big ugly seam running right down its centerline and no easy fix thanks to the deep sides of the tub. I tried covering it with masking tape like I did with the Blonde Comet car, and while the result was OK it could still be cleaner. I'll have to come up with a better solution next time. I also think I would have been smarter to assemble the entire fuselage and paint it as a unit, masking off the cockpit and other parts as needed. Finally, the front suspension is just as finicky as it looks. Best to leave those parts off the car until everything else is done, then assemble them one side at a time. That way they're not interfering with paint or decals, and it'll be easier to make sure that all four wheels touch the ground without having to go back and adjust a finished model.