Original Kit:
Jack Reacher 1970 Chevelle SS
Made By:
AMT (kit #871)
Scale:
1/25

Other 2010s Movie Models
Need for Speed Mustang GT (Review)
Furious 6 ‘69 Charger Daytona
Furious 7 Lykan HyperSport (Review)
Incredibles 2 Incredibile (Review)
Fast 5 ‘63 Ford Galaxie
Fast 5 ‘11 Charger Rio Police
Tron Legacy Sam‘s Light Cycle
200 MPH Nissan 370Z
Jurassic World Mercedes-Benz 6x6
Furious 7 Nissan GT-R (Review)
Furious 7 ‘70 Charger
Jurassic World Mercedes-Benz G550
LEGO Batman Ultimate Batmobile
Furious 7 Off-Road ‘70 Charger
Other Chevelle Models
Speed Demon ‘70 Chevelle
Supernatural ‘71 Chevelle
Jack Reacher ‘70 Chevelle
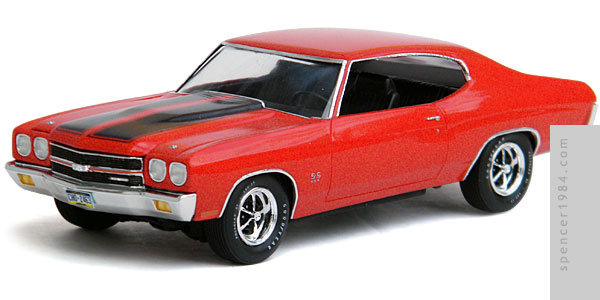
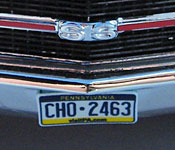
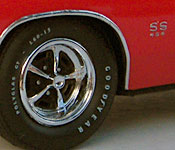

I built this as my entry in the YouTube 2014 Box Stock Community Build. It is the second time I've built this kit (third if you count the '72 Chevelle), but the first time I tried doing it box stock. Apparently I have a short memory, because all of the problems I noted earlier - poor parts fit, substantial flash & mold marks, incorrect detailing - made doing a clean build without "cheating" somewhat problematic.
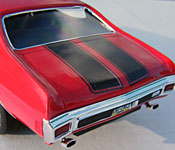
I started by cleaning the body of excess flash, deepening the panel lines, and giving it an overall sanding to remove some high spots. It was then painted Tamiya TS-8 over white primer. I tried to use the kit-supplied decals, but found that someone at Round 2 seriously goofed when they put together the file for printing: the black skunk stripes had been printed over a white field to ensure opacity, but the designer never made the correct knockout and so there was a white stripe between the main and pinstripe. The "Cowl Induction" decals had the exact opposite problem: they were printed without anything to ensure their opacity, and so they disappeared when I tried to put them on over the black stripes. To keep the car as close to the "box stock" parameter as possible, I substituted the stripes from my earlier build and left the hood decals off entirely rather than switch to an aftermarket option. The only decals I used from the kit were the screen-accurate (if undersized) license plates.
Admittedly, there was one problem with the body that was self-inflicted (or at least self-aggravated). When I was time to fit the headlight/grille/bumper to the body, I cut the headlights loose so that I could individually test fit them. I had forgotten that those are what held the front fenders together, and they were nowhere near straight on their own. I ended up having to literally tie the front of the car together with a piece of string, then fill the area behind the front fascia with epoxy to force everything to line up. BMF was used for the trim and to repair places where the sprue had marred the chrome, like the ends of the bumpers.
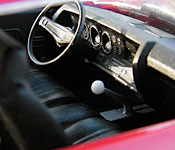
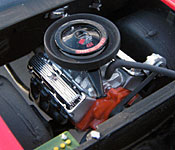
The engine and interior were passable without too much hassle. Detailing was acceptable, and there were no serious issues with parts fit or finish. The interior was painted entirely satin black with details picked out in silver, and the engine was painted Chevrolet Engine Orange.
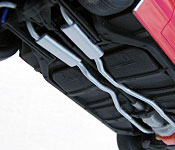
The chassis was pretty straightforward, but had one major flaw that doesn't show up until it's (nearly) too late in the build: the section of the pan aft of the rear axle is flat and in line with the main chassis. It should either angle up or be at a higher level, because as it is the last few scale inches stick out from under the rear fenders. Previously, I had bent that whole rear section at the axle hump, but this time I tried making smaller angular bends to the rear corners (essentially creating triangular "wings" between the frame rails and rear fenders). This was only partially successful: it got the sides where they belonged, but the back center was still too low and hit the rear splash pan. I had to relieve this until I could get the splash pan securely into place. The wheels and tires were arguably the best part of the kit, with good detailing and no assembly problems.