Tip for December 2005:
Glass Repair
- For true scratches, use 1500 (or even 1000) grit sandpaper to even out the surface; if the glass is only scuffed, skip to step 2
- Next, use 2000 grit or higher sandpaper until the glass appears to have a light film
- Clean the glass with toothpaste; this acts as both a cleaner and a polish
- The glass should look pretty good at this point: if there are still any visible scratches or scuffs, repeat the above steps
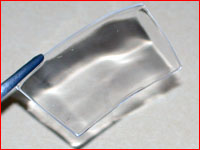
- To give it the final "glassy" appearance, hold the glass with self-closing tweezers, locking forceps, or a hemostat (anything that will hold the piece by itself), and dip the piece in Future. Remove extra Future by touching the edge of the glass against a paper towel. Make sure to hold the glass in a non-visible area, so you won't have marks left in the finished piece.
- Let the Future dry overnight, and it's ready to install!